Recording Videos
Your Paragraph text goes Lorem ipsum dolor sit amet, consectetur adipisicing elit. Autem dolore, alias, numquam enim ab voluptate id quam harum ducimus cupiditate similique quisquam et deserunt, recusandae. here

Daily Productive Activities
Better Outcomes
Sales professionals succeed when they focus on short, productive bursts of activity throughout the day. This strategy optimizes efficiency, maintains energy levels, and prevents burnout, leading to better outcomes in sales.
Getting Started
To use OBS Studio with Adobe Premiere Pro, the general workflow involves recording your screen, webcam, or both with OBS, and then editing your footage in Premiere Pro for final production. Here's how to do it step-by-step:
Set Up OBS Studio for Recording
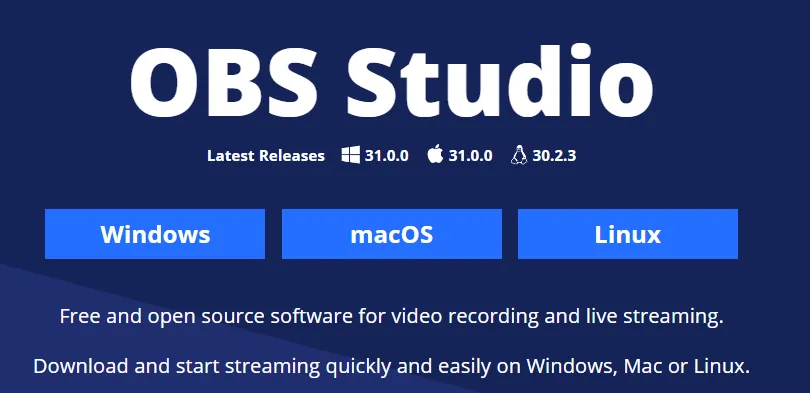
Install OBS Studio: Download and install OBS Studio from the
Click on your download to open the pop up window to install OBS.
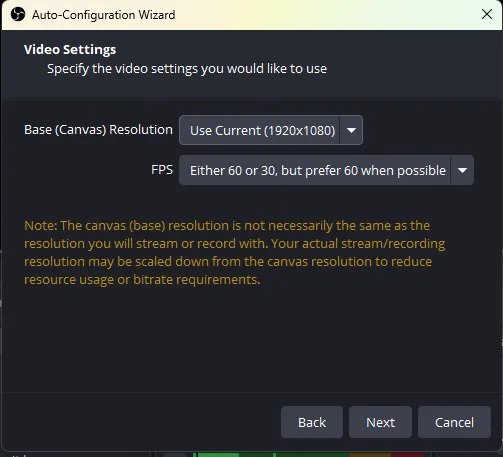
Standard YouTube Resolution : 1080p (Full HD): The most common and widely used resolution for YouTube videos. Canvas Resolution: 1920x1080 pixels Output Resolution: 1920x1080 pixels Recommended FPS: 30 or 60 FPS depending on the content (60 FPS is preferred for high-action or fast-paced videos).
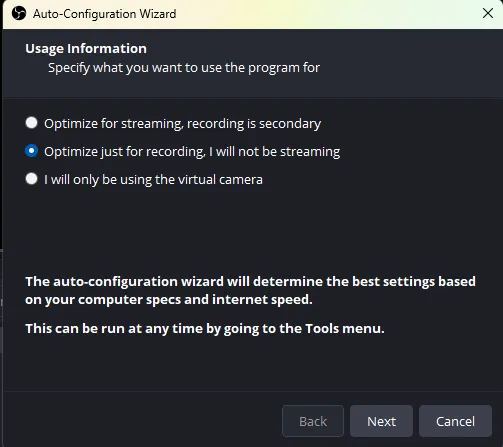
Configure OBS Settings:
Navigate: Settings, Output, Recording Format
Open OBS and go to Settings > Output to adjust the recording format (MP4 or MKV recommended for editing). If you are not going us a editing software like Adobe Premiere Pro. Adobe Premiere Pro can import MKV files with ease. It’s also easy to convert MKV to other formats like MP4 if needed.
To convert MKV to MP4 after recording in OBS, you can use the built-in feature in OBS: Go to File > Remux Recordings. Choose the MKV file and select the destination format (MP4). This option retains the original quality while converting to a more compatible format for sharing.
In Video, select the resolution and frame rate you'd like (common settings are 1920x1080 and 30 or 60 FPS).
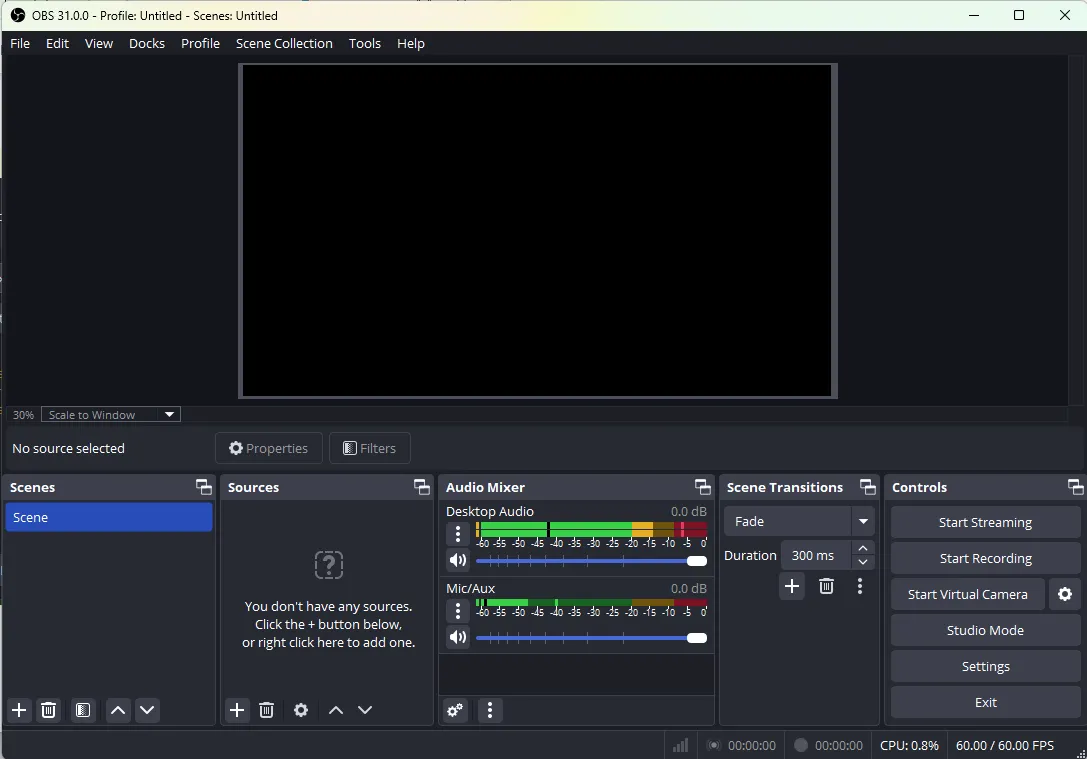
Set up Scenes and Sources in OBS to capture your screen, webcam, and any additional elements like audio or images.
Recording Your Video with OBS Studio
When you're ready to record, click Start Recording in OBS.
After you've finished recording your screen or webcam, click Stop Recording. Your video will automatically save to the location you specified in the settings.
Step 1: Set Up a New Scene
Set up Scenes and Sources in OBS to capture your screen, webcam, and any additional elements like audio or images.
Scenes allow you to switch between different setups during a recording or stream. For example, you can have a scene for "Just Screen Capture," one for "Webcam Overlay," and another for "Full Setup" (screen + webcam + audio).
Open OBS Studio and look for the Scenes box at the bottom left of the window.
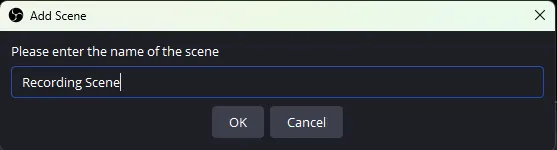
Click the “+” button under the Scenes box to create a new scene.
Name your scene (e.g., "Screen Capture" or "Webcam Overlay").
Your scene will now be available in the scene list.
Step 2: Add Sources to the Scene
Add Screen Capture (to capture your computer screen):
Display Capture: This method captures your entire screen or monitor, including everything visible on it. Ideal when you want to show your entire desktop or a specific monitor in multi-monitor setups. When using Display Capture, you can choose which display (in multi-monitor setups) to capture, which makes it very flexible if you work with multiple screens.
Window Capture: Captures a specific window or application, not the entire screen. This method is useful when you want to share only one program or browser window without showing the rest of your desktop. For example, you can capture a browser window, game client, or an app, while other parts of your screen remain hidden.
In the Sources box, click the “+” button.
Select Display Capture to capture your entire screen or
Window Capture to capture a specific window.
Choose the monitor or window you want to capture.
Click OK.
Add Webcam (for face capture):
Again, click the “+” button in the Sources box.
Select Video Capture Device and choose your webcam from the list.
Adjust settings as needed (resolution, frame rate, etc.).
Click OK.
Add Audio (to capture microphone or system audio):
OBS automatically adds audio sources for Desktop Audio (system sounds) and Mic/Aux (microphone) under the Audio Mixer.
If these are not listed, click the “+” button in the Audio Mixer and select Audio Input Capture for your mic or Audio Output Capture for system sounds.
Select your microphone or speaker device.
Add Additional Elements (Images, Text, etc.):
To add an Image, click the “+” button in the Sources box and choose Image.
Browse for the image file you want to add (e.g., a logo or overlay).
To add Text, click the “+” button and select Text (GDI+). You can customize the font, color, and size of the text.
Step 3: Arrange and Resize Sources
In the Preview Window, you can resize and reposition each source by clicking and dragging the red bounding box.
Use CTRL + drag to resize while maintaining the aspect ratio.
Step 4: Adjust Audio Levels
In the Audio Mixer, adjust the volume sliders for each audio source (microphone, desktop audio, etc.) to ensure your levels are balanced.
Step 5: Test Your Setup
Once everything is set up, click Start Recording or Start Streaming to test the scene and sources.
Review the audio and video to ensure everything is working smoothly.
When you're ready to record, click Start Recording in OBS.
Headline
After you've finished recording your screen or webcam, click Stop Recording. Your video will automatically save to the location you specified in the settings.
Adobe Premiere Pro
By combining OBS Studio for recording and Premiere Pro for editing, you can create high-quality training videos with flexibility in both production and post-production.
Open Adobe Premiere Pro.
Start a new project, and in the project panel, right-click to Import your recorded video.
Choose the video file (e.g., MP4 or MKV) that OBS saved.
Premiere Pro will import your recording, and you can now drag it to the timeline for editing.
Editing Your Video in Premiere Pro
Trim and Cut: Use the Razor tool to cut your video into segments or delete unwanted parts.
Add Transitions: Insert transitions between clips or between sections of your screen recording.
Overlay Text/Graphics: Use Premiere’s text and graphics tools to add on-screen annotations, captions, or shapes.
Audio Editing: Adjust your microphone or system audio recorded in OBS, or replace it with a new voiceover.
Export Your Edited Video
Once you’ve completed editing in Premiere Pro, export your final video by going to File > Export > Media.
Select the export settings (e.g., MP4 for a high-quality, compressed file) and export your video for sharing or uploading.